My creative goal for 2020 was to make a dollhouse and all its furniture by June, as a birthday present for our 3 year old. Fast forward to three days before Christmas and I was sitting making my first piece of furniture for a dollhouse that we ended up buying as a Christmas present. Safe to say I didn’t quite nail that goal. Then again, I’m not sure anyone really nailed their 2020 goals.


To see the rest of my doll house tutorials CLICK HERE.

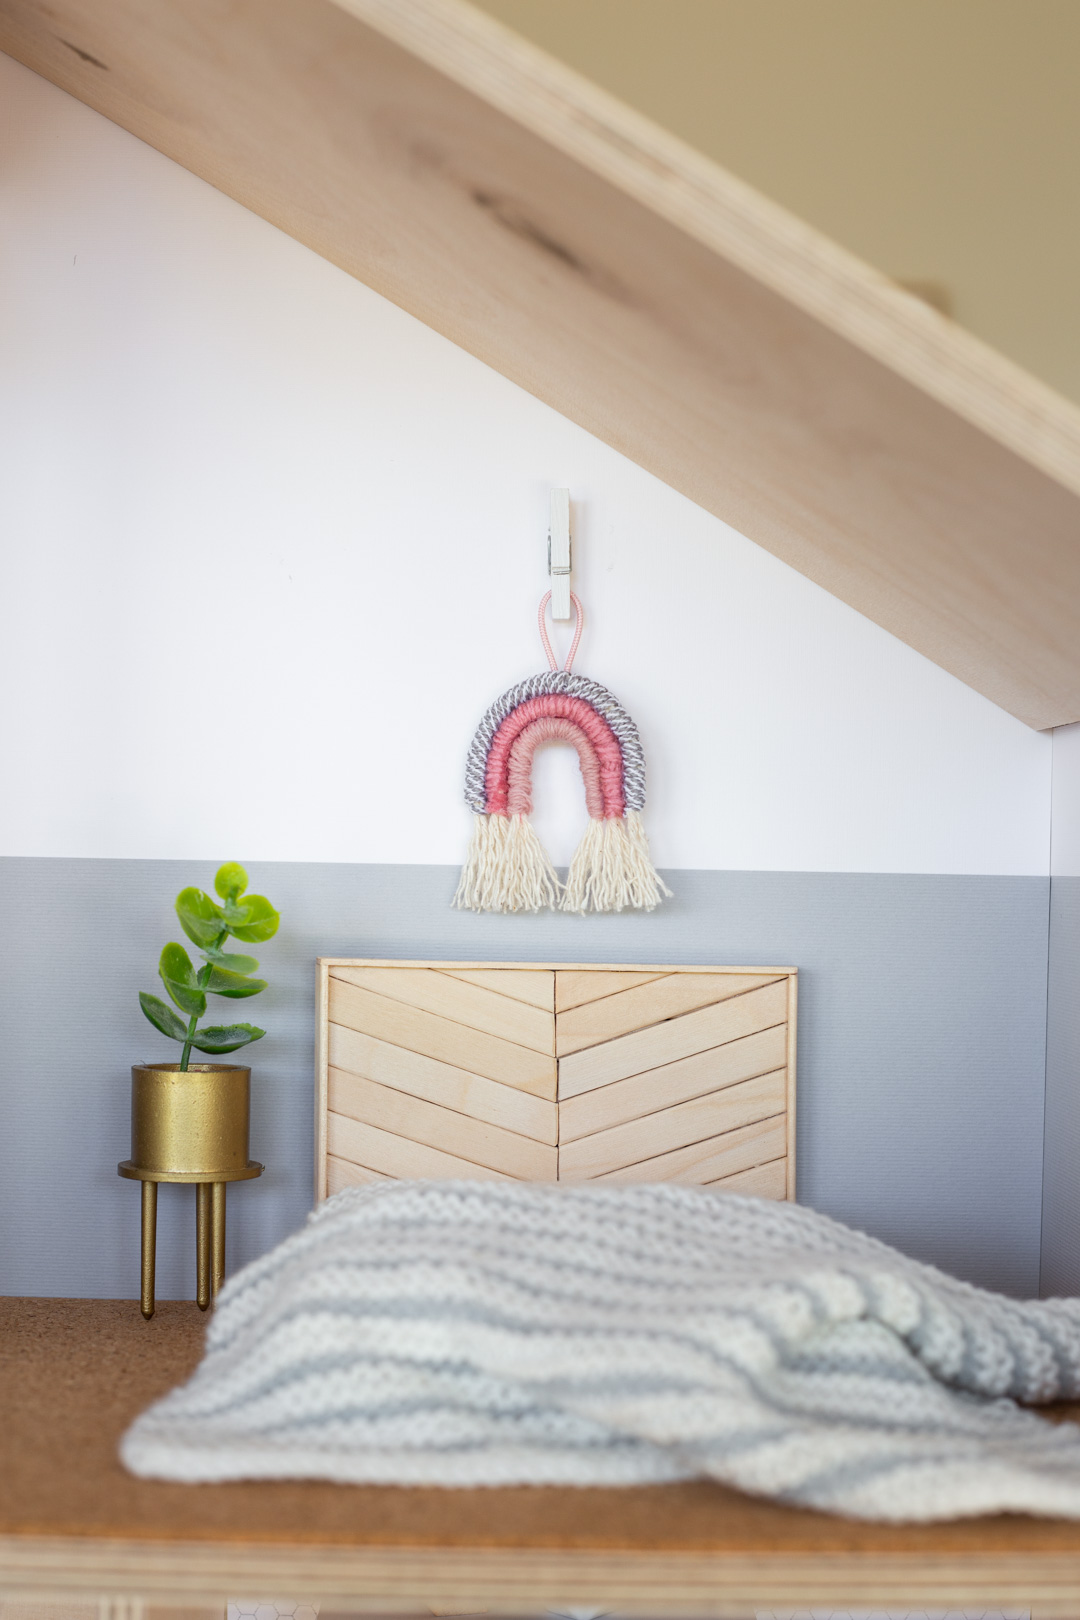
DIY dollhouse bed and headboard from popsicle sticks
One of the most important things in a dollhouse must be somewhere to sleep, so I started with a bed. I love the look of a great headboard and since we don’t have our own nice headboard (yet), I may as well live out my own dreams through the dollhouse.
Popsicle sticks (wooden ice cream sticks) ended up being the simplest thing for this bed. And actually manage to look rather classy. I used two different sizes, but you could easily improvise if needed.
What you need:
Popsicle sticks (Small sticks* roughly 11cm/4.5in and larger sticks* 15cm/6in)
Craft glue
Corrugated cardboard or foam board
Batting or foam
Soft fabric scrap
*Affiliate links
What to do:
Dollhouse Headboard Steps
Decide on the rough final dimensions that you\d like for your dollhouse bed’s headboard and draw them out on a piece of paper. Place popsicle sticks over the box at the angle that you’d like them to be. Use enough sticks to cover from top to bottom. Use a ruler to draw a straight line where you’ll trim off the round edges. Trim with a craft knife and repeat for the other side of the headboard, matching the same angle.

Make the back support of your headboard by laying out popsicle sticks straight across the drawn headboard. Trim off edges to fit.

Line up all the angled pieces, as closely as possible. Using craft glue, glue one of the back supporting pieces to the back. Use this piece as a guide for trimming down the sides of the angled pieces with a craft knife.

Glue the rest of the back support pieces onto the angled pieces.

Once they’re all glued together, trim the edges to make them match as closely as possible.


I forgot to take a photo of the last step for the headboard, but cut and glue a piece of popsicle stick to the top of the headboard and then down each side, to create a trim.
Dollhouse Bed base
Using 4 large popsicle sticks, cut the pieces for the sides of the base. Make sure to match the final width of the base to the inside width of the headboard so that it slots in comfortably. Glue the base pieces together.
Glue a smaller popsicle stick onto the inside bottom of each of the sides of the base. Trim down more smaller sticks to fit in and create the support for the mattress. Glue these in.


Dollhouse Mattress steps
Cut a piece of corrugated cardboard (or foam board) and batting slightly smaller than the inner dimensions of your dollhouse bed base. This is to allow for the extra space of the folded fabric. Cut the fabric big enough to wrap around the sides and glue onto the base.

Glue down all four sides. Mine doesn’t look neat underneath, but it won’t be seen.

Attach all the pieces together
First, slot the mattress onto the base. You can glue it down if you like.

Lastly, trim down the side legs of the headboard to meet the bottom of the base and glue the two together.


Dramatica says
So adorable!
Thank you for sharing!